 |


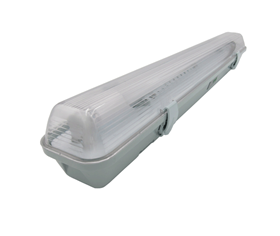
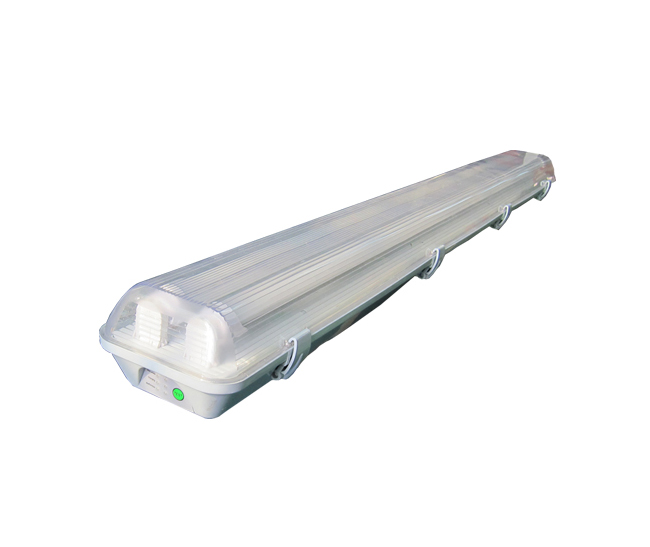
◆Adopt high-grade PC base and PC cover fitting ,IP65 protection rate

◆Surface mounted or hanging installation option

◆Uising high brightness SMD2835 led chips as light source

◆Adopt High Capacity Lithium battery pack

◆Emergency duration :>3 hours or customized

◆Available in 2ft 2x9w; 4ft 2x18w; 5ft 2x22w.

◆Approved by SAA and C-tick and meet AS2293.3

◆3 years warranty
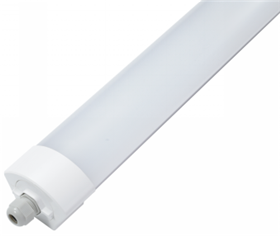
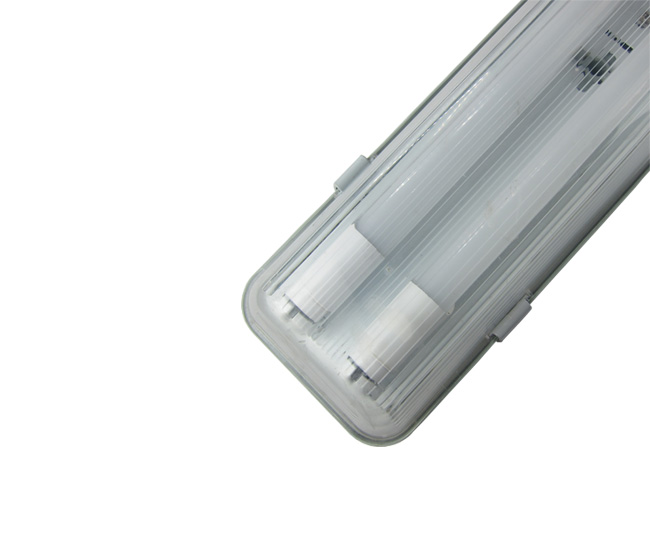
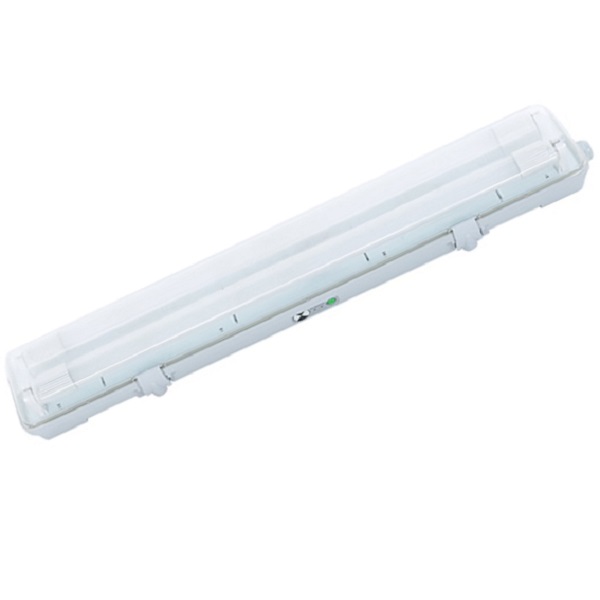
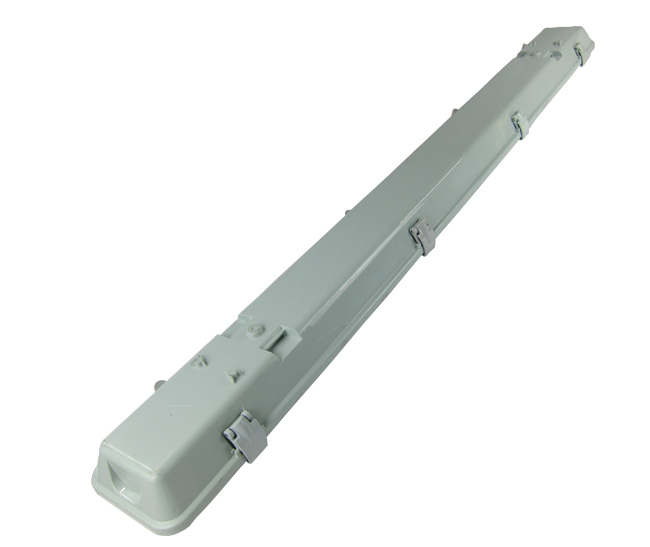
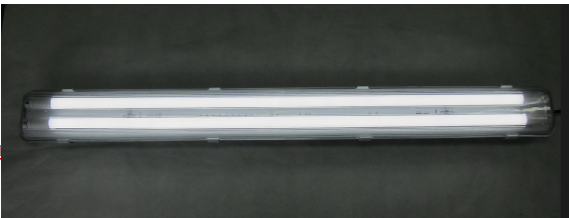
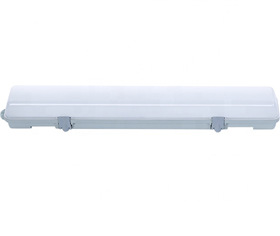
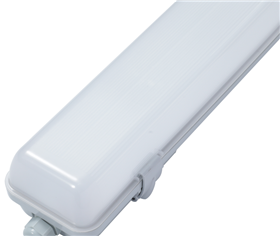
T8 twin tube LED weatherproof fittings emergency waterproof luminaires vapor tight luminaires
Description
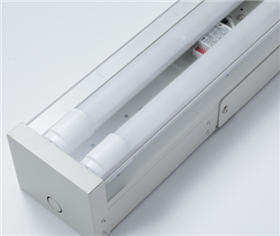
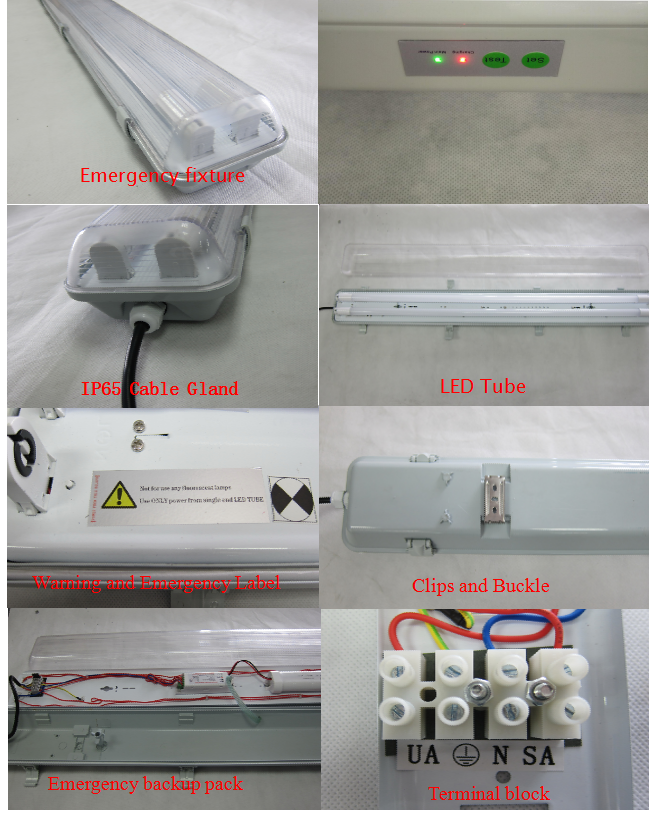
The emegency waterproof luminaires work under normal supply of AC power (with a wall switch, the light can control on/off when AC power on). At the same time, the battery is charging. When earthquakes, explosions, or other sudden disasters happened, lead to AC power shut off, the tube automatically switch to battery power supply to keep light on. Emergency time can be 3 hours or customized.
Product video
Feature
◆Adopt high-grade PC base and PC cover fitting, good quality seal for better waterproof,IP65 protection rate
◆Surface mounted or hanging installation option
◆Uising high brightness SMD2835 led chips as light source
◆Adopt High Capacity Lithium battery pack
◆Emergency duration :>3 hours or customized
◆Available in 2ft 2x9w; 4ft 2x18w; 5ft 2x22w.
◆Approved by SAA and C-tick and meet AS2293.3
◆3 years warranty
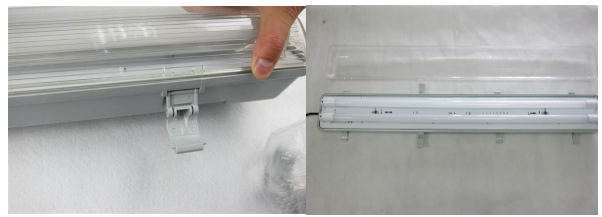
Detail picture
Application

Installation
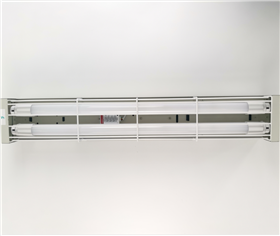
1. Open the package; take out the accessory for installation. 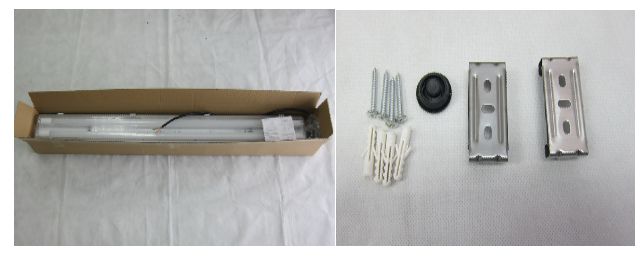
2. Check the fixture to make sure T8 tubes fixed well, if necessary,open the cover and check.
3. Choose a suitable place to mount the fixture. Tack plastic studs on the ceiling and fix the metal buckles on the wall/ceiling with screws.
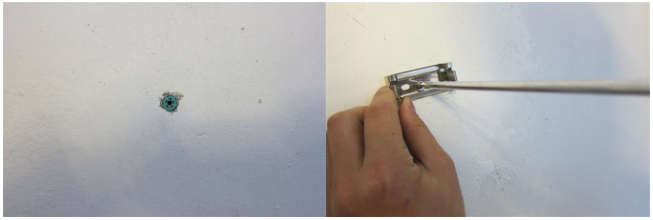
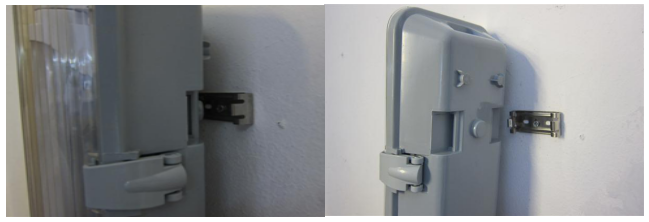
4. Mounting the fixture to buckles.
5. Connect the power wires.
a) Connect main power wires to lead wires as follows.
Connect main power live line (L) to Brown wire (UA), Live line (L) – UA
Connect main power Earth to Yellow/Green wire (Earth) Earth—Earth
Connect Switch lines (L,L’) to Brown wire (UA) and Red wire (SA) Switch lines (L,L’) -UA, SA
Connect main power neutral line (N) to Blue wire (N) Neutral line (N)--N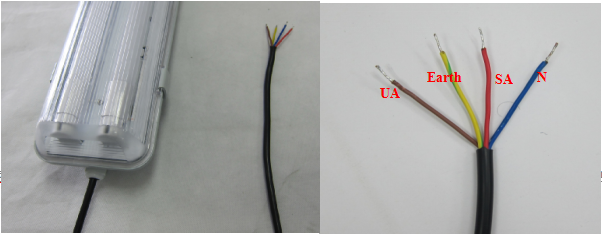
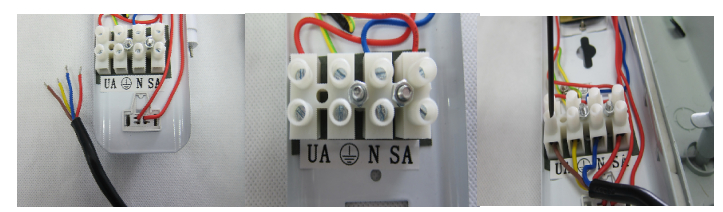
b) Open the cover and let main power wires go through the Gland and connect wires to inside terminal block as follows.
Connect main power live line (L) to “UA”, Live line (L)-UA;
Connect main power Earth to “Earth”, Earth--Earth;
Connect Switch lines (L,L’) to “UA” and “SA”, Switch lines (L,L’)—UA, SA;
Connect main power Neutral line(N) to “N”, Neutral line (N)—N;
6. Turn on the AC power.
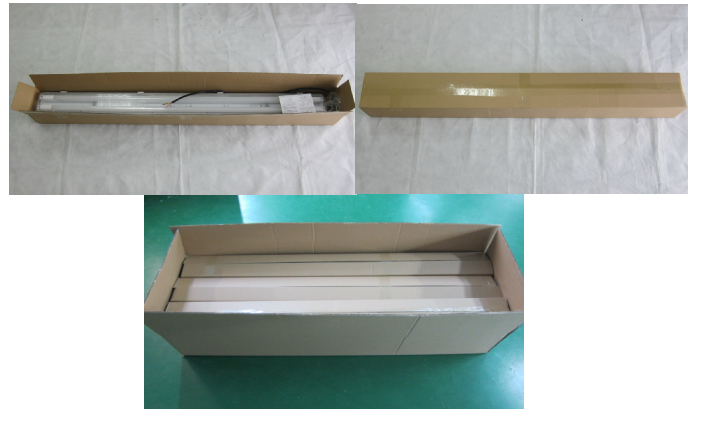
Packing Specification 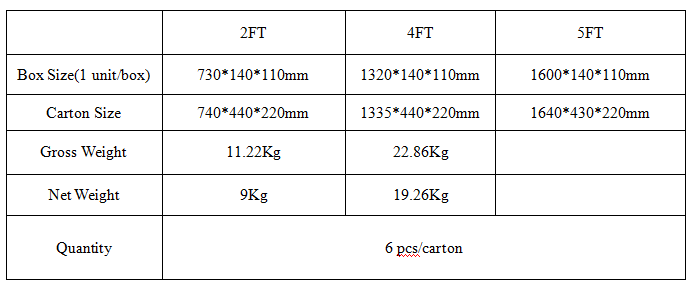

.jpg)
.jpg)